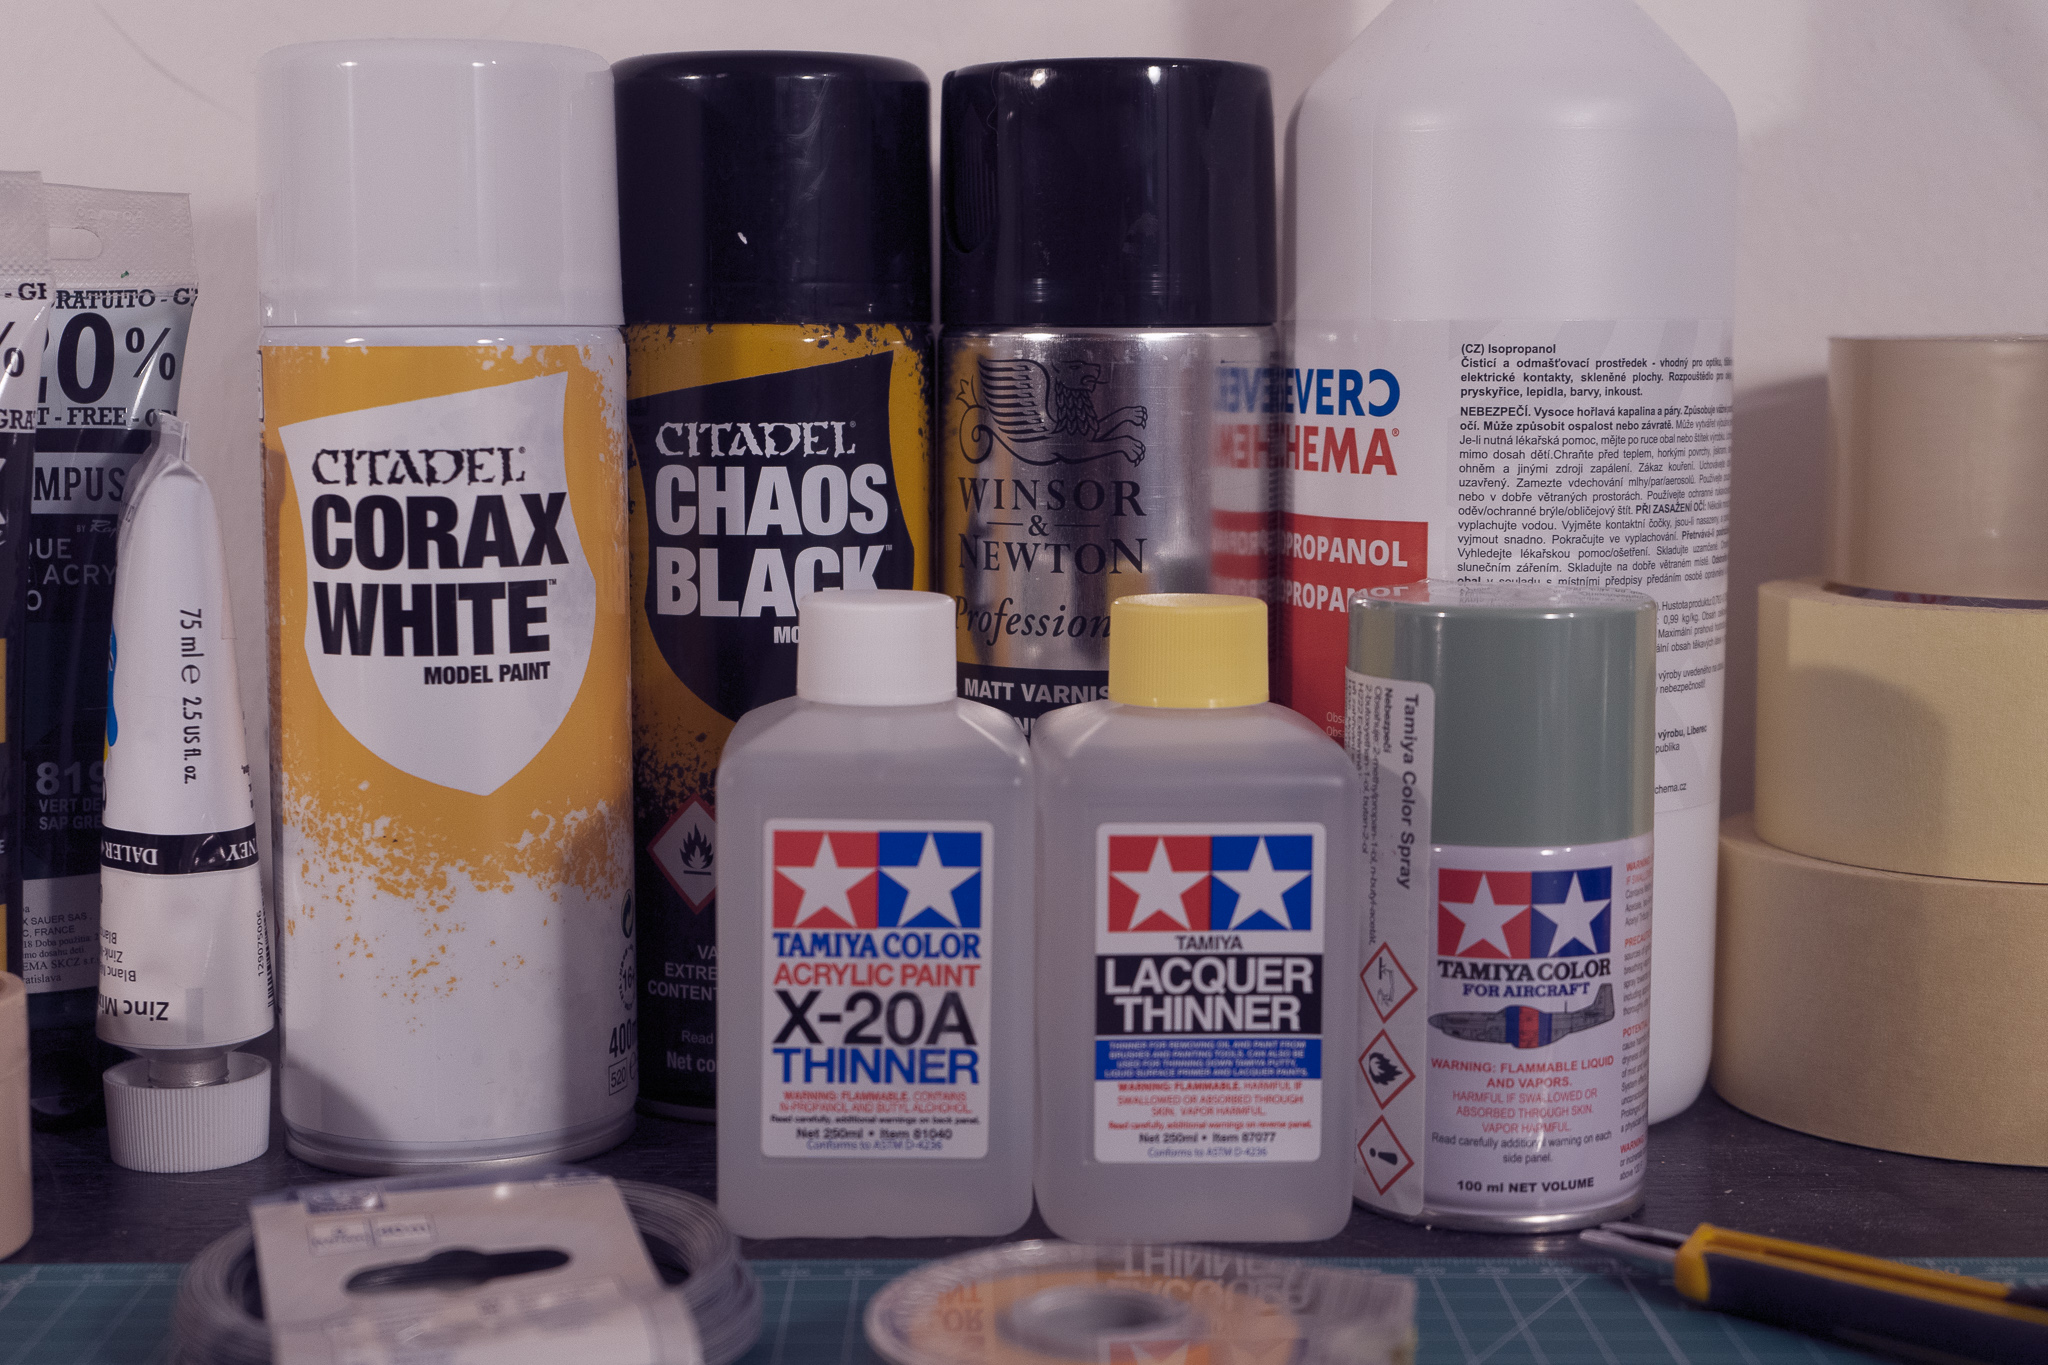
Priming sprays are essential tools for finishing plastic. They unify the surface and reveal imperfections. But they can be tricky to operate in winter weather. Here are four tips we learned by trial and error so you can avoid speckles and uneven coat on your plastic.
You can apply this guide to 3D printed objects, wargaming miniatures or model planes.
1. Keep an eye out for a low humidity day
I hung a small analog hygrometer on my porch. I am looking for days with 60% humidity or lower. It is an inexpensive item that provides more accurate data than weather apps. In my experience, high humidity is the #1 culprit of bad coat of primer. If you ever had your primer create texture, clumps or speckles, chances are the humidity was too high.
2. Warm the can
The temperature of the spray can is more important than the one of air. Rubbing it with your hands so it approaches your body temperature is good enough. If you don’t feel like furiously rubbing the can, you can always put it in a pot of warm water. Avoid contact with anything extremely hot. (Hey, I warned ya)
3. Arrange the model so the details face you
I use a stick and putty tack or double sided tape to hold my models during spraying. As you want to spray away from your body, make it easier to aim the spray by placing the front side or top face (whichever applies) towards you. This sounds intuitive but may not be immediately obvious while arranging the models on the stick.
4. Finished? Clean the nozzle
There is a very simple trick that will ensure your nozzle is ready when you prime in the future. After you finish spraying, simply flip the can upside down and spray until only clear propellant comes out. Easy, right?
So these have been my tips for priming any plastic in winter. For a more general introduction to priming, I recommend an excellent video by YouTuber Miniac, embedded below. His tutorial series is concise and fun.
